Blog / · 10 min read
Proxmox VE in 2026: why everyone's talking about it again, and how to install it without screwing it up
The Broadcom email that blew up VMware bills put Proxmox back on everyone's lips. Version 9.2, free license, install from A to Z: the full tutorial to build your own hypervisor without losing a weekend.
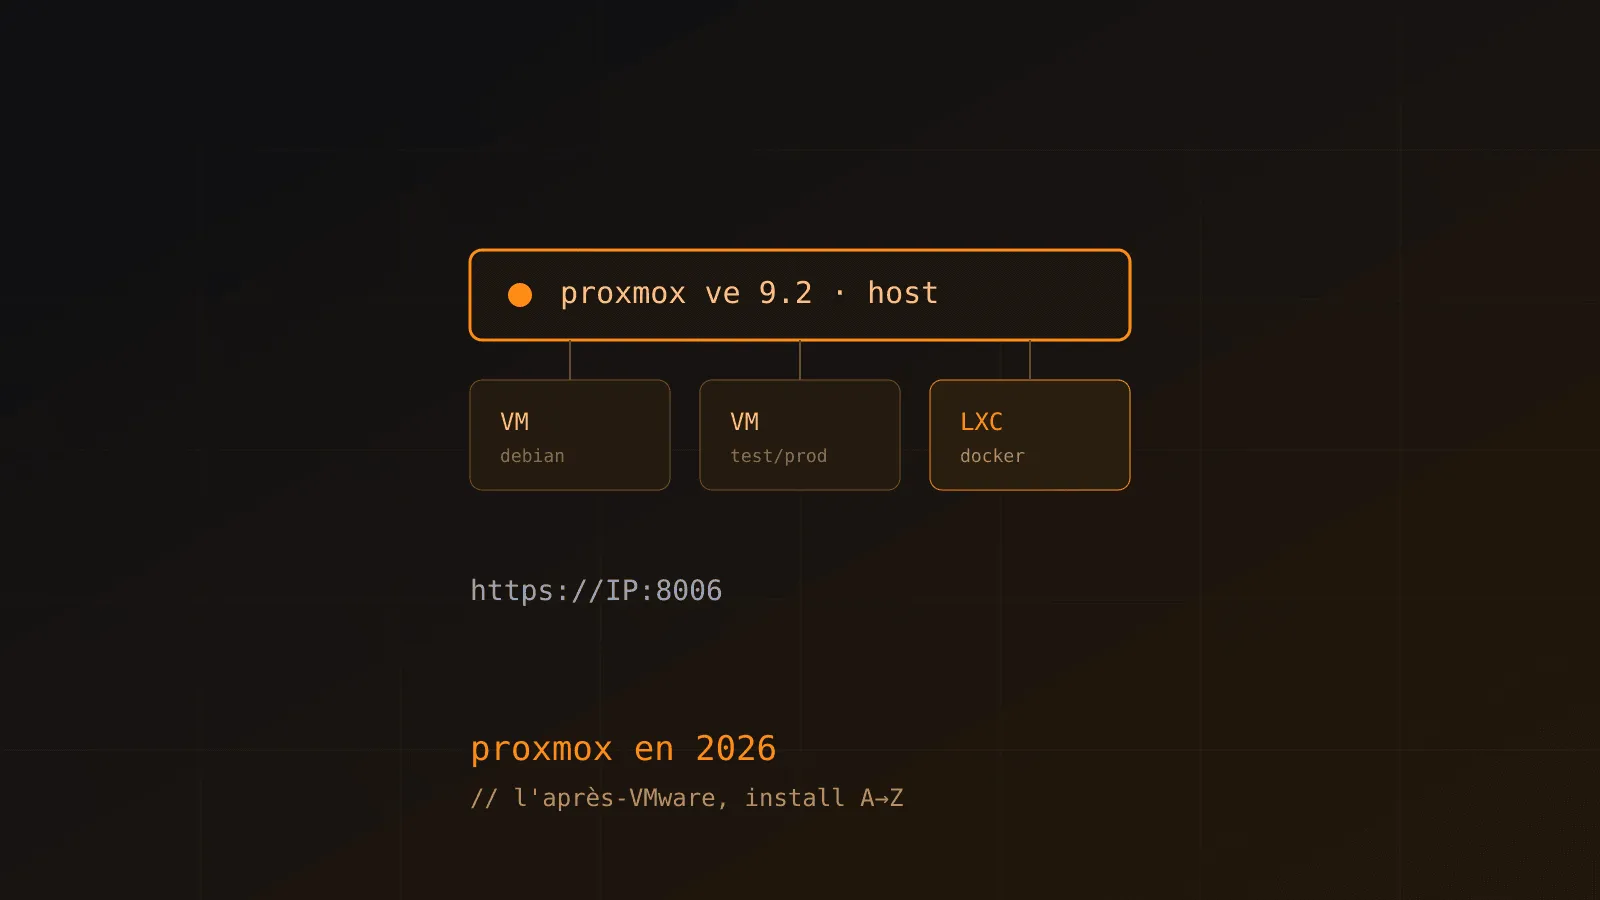
You probably got the email. Or a coworker showed it to you while rolling their eyes. The VMware license renewal that suddenly costs two to ten times more than last year.
It’s not a billing accident. It’s Broadcom, which bought VMware at the end of 2023 and has since restructured the entire pricing grid: no more perpetual licenses, everything moves to subscription, and the announced increases range from 150% to a flat-out 1200% depending on the contract. Overnight, companies that had been running quietly on vSphere for ten years find themselves having to justify a budget line that exploded without them changing anything about their infrastructure.
Result: everyone’s talking about Proxmox again. Not because it’s new — the project has existed since 2008 — but because the economic math switched sides.
Okay. This article is the two halves of the question. Why it’s worth it in 2026, and how you install it without losing your Sunday.
The real trigger isn’t the tech
Honestly, Proxmox hasn’t suddenly closed a ten-year gap with VMware in one year. What changed is the cost/benefit ratio.
Migration reports floating around talk about licensing savings of 70 to 95% for cases where the company doesn’t need the full VMware stack (vSAN, NSX, Site Recovery Manager with complex replication). The profiles with the most to gain from switching: homelabs, startups, and SMBs with fewer than 50 VMs that don’t maintain an ultra-sophisticated disaster recovery (DR) plan.
If you’re a bank with 3,000 VMs and a certified multi-site DR, Proxmox probably isn’t your priority today. If you’re a studio, an SMB, or just you alone with a server in a closet, the question clearly deserves to be asked.
The technical entry point that changed the game: since 8.2, Proxmox has had a built-in Import Wizard to pull VMs directly from ESXi — it goes and fetches OVA/OVF files and converts VMDK disks to QCOW2 or raw via qemu-img convert. In 9.x, it’s even more generalized. In practice, you no longer have to reinstall every VM by hand from scratch.
What version 9.2 brings
Proxmox VE 9.2 was released on 21-05-2026. Debian 13.5 “Trixie” base, kernel 7.0 by default, QEMU 11.0, LXC 7.0, ZFS 2.4.
The piece that really matters in this version is the Dynamic Load Balancing feature of the Cluster Resource Scheduler (CRS). In plain terms: the cluster automatically migrates your HA VMs and containers from one node to another based on actual observed load, not just static rules set once and forgotten. It’s the kind of feature that’s been sold to you as a given for ages on the VMware side (DRS), and that was genuinely missing on Proxmox.
There’s also movement on the SDN side: WireGuard + BGP support, route maps and prefix lists for EVPN, IPv6 underlay. Plus custom CPU model management directly from the WebUI, and security fixes on VNC API endpoints.
One thing worth pointing out if you’re reading other comparisons: quite a few generic Proxmox-vs-VMware articles, even recent ones, still repeat that Proxmox “has no automatic load balancing.” That’s been false since 9.2. Dynamic CRS does exactly that. Trust the docs and the 9.2 changelog on this specific point, not comparison pieces recycling info from two years ago.
Free, actually free — not a crippled version
The point that surprises people coming from VMware the most: Proxmox VE is licensed under AGPLv3, 100% open source, and there is no feature locked behind a subscription. No “lite” tier with half the features. You can run it in production, for free, legally, without ever pulling out a credit card.
What you pay for are 4 subscription tiers (Community, Basic, Standard, Premium) — and that buys support and SLA, not extra features. Technically, that materializes as two package repositories:
pve-enterprise: requires a subscription key, packages tested and stabilized first.pve-no-subscription: free, officially classified “testing / non-prod” by Proxmox, but used massively in production by the whole community without any notable issue.
You need to know this before installing, because by default the server points to the enterprise repo — and without a key, your updates will just fail with 401 errors until you switch over.
What you need before starting
The official Proxmox minimum: a 64-bit x86 CPU with hardware virtualization (VT-x for Intel, AMD-V for AMD), 2 GB of RAM, 32 GB of storage. That’s the strict minimum for testing, not for running anything serious.
For a realistic small production setup — say a homelab hosting real services, or a small organization — plan for 8 to 16 GB of RAM, 4 to 8 cores, a 256 GB SSD.
If you plan to use ZFS (for software RAID without a dedicated card), watch out: ZFS is RAM-hungry because of its ARC cache. The basic rule is 2 GiB base plus 1 GiB per TB of storage for the ARC. Plan for 8 GB minimum if you go with ZFS, and ECC RAM if you can afford it — ZFS hates silent memory corruption.
Installation, step by step
1. Get the ISO
Straight from proxmox.com/downloads. No account needed to download the free ISO.
2. Make the bootable USB drive
Two common options:
- balenaEtcher: the simplest, you drag the ISO, select the drive, burn it. Zero options to figure out.
- Rufus: a bit more control, useful if you need to explicitly choose the partition scheme — GPT for UEFI boot, MBR for legacy BIOS. If your install hangs at boot with no clear message, this setting is often the culprit.
3. Boot and launch the graphical installer
Choose “Install Proxmox VE (Graphical)” from the boot menu. Accept the EULA (AGPLv3, so no surprises in there), choose the target disk.
For filesystem: ext4 by default is plenty for standard use. Only go with ZFS if you want software RAID natively managed by Proxmox (multiple disks mirrored or in raidz).
4. Configure network and hostname
The installer asks for the hostname, static IP (strongly recommended for a hypervisor, no DHCP that shifts around), gateway, DNS. This is the moment to get it right — changing a Proxmox’s IP afterward is never as simple as an nmtui.
5. Reboot, then head to the web interface
Once rebooted, the admin interface is accessible at:
https://SERVER-IP:8006Self-signed certificate on first access, that’s normal, your browser will complain, you click through.
6. Switch to the free repository
Without a subscription key, the first thing to do before any apt update: disable the enterprise repo and enable the no-subscription repo. Otherwise your updates will fail on packages requiring authentication you don’t have.
In practice, you comment out or delete the entry in /etc/apt/sources.list.d/pve-enterprise.list, and add the no-subscription repo with your version’s Debian codename (Trixie for 9.x):
echo "deb http://download.proxmox.com/debian/pve trixie pve-no-subscription" \
  > /etc/apt/sources.list.d/pve-no-subscription.list

apt update
apt full-upgrade
Once this switch is done, your system updates go through normally.
7. Upload an image and create your first VM
In the WebUI, go to local storage, ISO Images tab, upload your Debian or Ubuntu ISO (or whatever you want to virtualize). Then click “Create VM” in the top right: choose the ISO as boot source, allocate CPU, RAM, disk, a network bridge. The wizard walks you through screen by screen, nothing tricky.
8. Create your first LXC container
Click “Create CT”. Choose a template (Debian, Ubuntu, Alpine — Proxmox offers a good ready-to-use list), configure disk storage, cores, RAM, network bridge with IP/DNS, and click Finish. An LXC starts in a few seconds, not minutes like a regular VM.
What I’d actually use, solo or in a small team
The question that matters once it’s installed: what do you put on it.
LXCs, for anything lightweight that doesn’t need an isolated kernel: an Nginx, a Portainer driving Docker, a Postgres or MySQL instance dedicated to a project. Fast to start, uses much less RAM than a full VM, and the overhead is nearly zero.
VMs, for anything that needs to be truly isolated — a test environment that has to resemble production, a different OS from the host, or something you want to be able to clone/snapshot without touching anything else. Snapshotting a VM before testing a risky migration, rolling back after a crash, is the kind of safety net you regret not having the first time you need it.
NAS and self-hosting, in LXC or VM depending on the need: Nextcloud, a self-hosted password manager, a file server for family or team.
A sandbox before the cloud: you build your stack locally on Proxmox, check it holds up, iterate without paying a cloud bill during the tinkering phase, and only push to cloud production once it’s stable. Saves you from paying to learn.
The limitations, unfiltered
I’m not going to sell this as the perfect solution, that would be dishonest.
The learning curve is real, especially if you’re coming from vSphere. The LXC paradigm (system containers, not Docker) and Proxmox clustering don’t work like their VMware equivalents. That said, the official docs are good and the community is large — the climb is gentler than you’d expect walking in.
Support is different, not equivalent. Without a paid subscription, you don’t get a vendor SLA like with VMware. You depend on the official forum and the community — which is responsive, but it’s not a ticket with a contractual commitment. There are also fewer third-party certifications (hardware, business software) than on the VMware ecosystem, which has been embedded in enterprises for twenty years.
Scalability has a reasonable ceiling. Proxmox clusters scale up to 32 nodes. Plenty for an SMB or an ambitious homelab. Not enough if you’re running a real datacenter at a scale where VMware goes noticeably further.
Proxmox Backup Server does the job, but stays more limited. It’s fast, deduplicates well, but it’s not “application-aware” at the same level as certain enterprise backup solutions that natively handle application consistency (databases, Active Directory, etc.).
Who should actually take the leap
If you’re a homelab, a solo builder, a startup, or an SMB under the 50-VM bar without complex DR needs: the math clearly leans toward Proxmox in 2026. Free, not crippled, a real community, and a feature like dynamic CRS that fills a genuine historical gap.
If you’re in a large organization with heavy third-party certification requirements, a contractual multi-site DR, or a strong dependency on the VMware ecosystem (NSX, advanced vSAN), the migration deserves a real total-cost study, not just a license calculation.
For everything else — and that’s the majority of cases for a solo dev or a small team wanting their own hypervisor — an afternoon is enough to get a working Proxmox with your first VM and your first LXC on it. The rest is practice.
Sources
- Proxmox VE — Official Roadmap
- Proxmox VE 9.2 — Dynamic Load Balancer release notes
- Proxmox — Virtual Environment 9.1 Press Release
- Proxmox VE — Package Repositories
- Is Proxmox Free? Enterprise Licensing Explained (2026)
- Proxmox: Free vs Paid
- StarWind — VMware Migration to Proxmox KVM / XCP-ng (2026)
- Virtualization Howto — What I learned after migrating fully away from VMware
- Tech Insider — Proxmox vs VMware (2026)
- VMware Made Simple — VMware to Proxmox Migration Guide
- Proxmox VE — Requirements
- Proxmox VE — System Requirements (wiki)
- Proxmoxr — How to Install Proxmox VE
- Proxmoxr — Proxmox Install USB
- std.rocks — Proxmox VM Creation
- Hornetsecurity — Proxmox vs VMware
- Synextra — Proxmox vs VMware Knowledge Base
Keep reading